The death of a loved one is never easy. Emotions, grief and fear can cloud your judgment and make it difficult to get the necessary tasks done. One way to work through your grief in a constructive manner is to write an obituary. We’ve collected eight easy steps to writing an obituary, to make the process just a little bit easier while you grieve the loss of your loved one.
1. Call the Paper
The first step to writing a proper obituary starts by calling the paper you plan on having the obituary run in. Many papers have different guidelines, pricing and word limits, so finding out that information before you begin writing can help you really formulate a writing plan. Most papers work on a “column” system, so ask how many words typically fit into a column and how much it will cost. You’ll also want to ask about deadlines.
2. Read other Obituaries
Before you begin formulating your thoughts, it is always a good idea to read other obituaries. You’ll get a sense of the type of information that should be included, and what can be omitted from the paper obituary. Read a few and take note of what you do and do not like about each. It is a good starting point for your own writing.
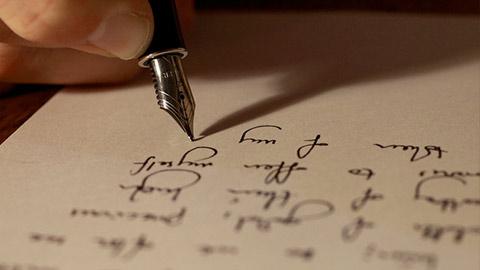
3. Get The Info Down on Paper
Before you write the actual obituary jot down the information you’d like to include. This will first serve as a rough draft and, later, will serve as a type of checklist. It will help ensure you have all the details you want to include in your final draft and can really help the writing process.
4. Write the Obituary
Once you have all the information gathered, you should begin writing. Remember to keep the information about the loved one front and center, but don’t be afraid to add a bit of personality into the writing, too. For example, if your Grandma Edna was the reigning bridge champion of her retirement home, add that in.
5. Proofread Your Work
Once you’ve written the obituary, you’ll want to proof your work. Often times it is best to walk away from the writing for an hour and return to read it then. You can’t always catch your mistakes right after writing, but you’ll catch them with a fresh set of eyes, so to speak.
6. Fact Check Your Work and Ask Someone Else to Read It
During your proofing of the obituary, it is a good idea to fact check. You want to make sure you have all of the dates correct, as well as the service information. After you’ve done that, ask a trusted family member to proof read the work as well. This is a good way to ensure there are no glaring grammatical mistakes, or spelling errors. Another set of eyes can catch mistakes more easily than you can.
7. Submit the Obituary
Make sure you submit the obituary by the deadline. You should have gotten this information when you called. To ensure the obituary runs on the day you intend, it’s best to submit it at least an hour prior to the deadline to ensure someone gets it in time. You can also ask for a proof of the obituary when submitting it, in most cases.
8. Check the Paper
Once you’ve submitted your work, the only thing you can do now is wait for it to run in the paper. Check the paper the next day to ensure everything is correct. If something is wrong, contact the paper immediately for a retraction.
Got more questions? Seek the advice of a funeral service like regularlink.com members Greer Family Mortuary in Alameda, CA.